
Straightening out a Sagging Gate
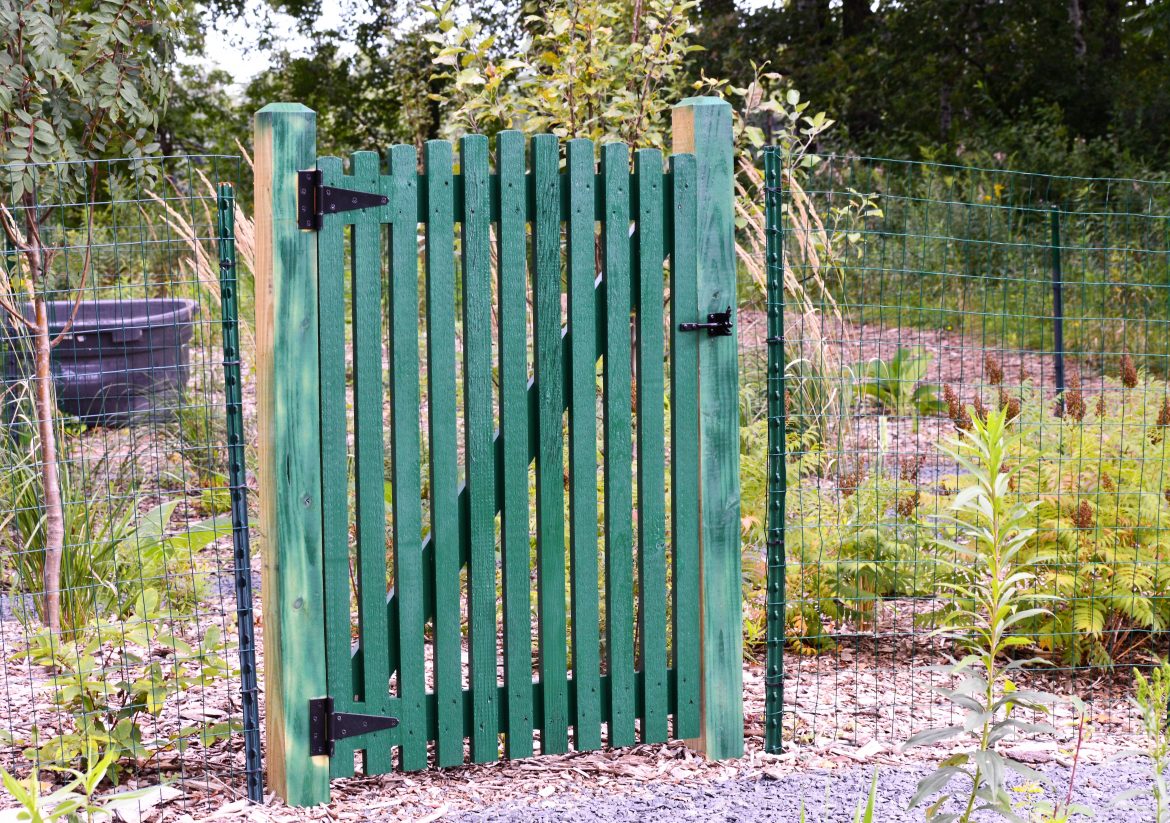
Little by little you notice that the latch on your garden gate is moving out of alignment, and eventually it no longer lines up and cannot latch. In addition, the bottom edge of the gate is beginning to bind against the gate post. One of several different things is happening here and there are workarounds and solutions.
The Problems
The first thing to look at is the hinge post. Many times this is the culprit. Due to the fact that the gate is a cantilevered affair that places downward pulling stress on the upper hinge, the hinge post is vulnerable to moving out of plumb. This becomes particularly acute when the gate is heavy and/or the hinge post has not been properly installed. For a typical simple 36” wide garden gate that weighs about 40lbs., a properly installed hinge post will provide a well-engineered solution before the problem develops. In this case, a simple treated 4 x 4 should make an adequate hinge post however it must be properly anchored into the ground. To do this it must extend at least 3’, possibly 4’, below the surface, and before the backfilling begins, dry cement should be poured into the hole, and then the hole filled step by step in 12”-18” increments and the backfill should be tamped and compacted into place with each successive layer of backfill. This will provide the necessary resistance to the gate post moving out of plumb. However, this would not account for any warping of the post. For heavier gates, the same process should be used but with 6 x 6 treated timber.
Now that we have solved the issue of the post, we need to move onto the hinge. Since the hinge is anchored in wood and wood is susceptible to shrinking, swelling, and warping, it is not uncommon for the fasteners to lose their grip. After that, the upper hinge, which is supporting most of the weight, pulls away from the post and/or the gate. Generally speaking, this can be easily remedied by using longer more aggressive screws to anchor the post side of the hinge and/or using through bolts with hex nuts and washers.
The Solutions
With these two problems behind us we can move on to the next possible cause of the problem. This is that the corner joints of the gate have loosened up and the gate is beginning to sag. If the gate were properly constructed, this would not happen. Proper construction for a simple garden gate is not such a simple process. The best way to accomplish this is by using a gate builder’s kit, which would typically include welded steel corner brackets that have been made to a precise 90° angle. Properly installed, these will prevent a gate from sagging for a long time. These are made by various manufacturers such as: True Latch, Homay, National Hardware, Adjust-A-Gate, and Tech Team Products. The product of choice is Tech Team Item 738, which is clearly the best engineered and strongest manufactured in the entire lot.
We are now at the point where having not had the foresight to engineer the installation of the gate post and/or the construction of the gate, we still have in front of us a gate that is dipping at the lower latch side corner. In other words, it is becoming a diamond-shape, rather than a square or a rectangle. Fortunately this condition is also easily corrected by the application of gate hardware designed for this specific situation. In this case a gate brace will do the job. If you picture the frame on the back of the gate when it is new and the corners are square, and you measure the diagonals from corner to corner you will note that they are exactly the same length. As the gate sags towards the latch side, the diagonal that reaches from the top hinge to the lower corner becomes longer than the other diagonal. In order to square up the gate it is necessary to reduce this length so that both diagonals are once again exactly the same length, and the gate is square thus solving the sagging issue.
Installing the Hardware
There are two basic types of hardware that will solve this. One type is a cable arrangement that can be attached corner to corner, and then tightened up to square up the gate. The other type is a steel strap arrangement that has an adjustment feature that allows you to gradually pull the gate square so the diagonals are equal. These particular products are made from a range of manufacturers including: True Latch, Homax, National Hardware, Stanley Hardware, Hillman Group, Adjust-A-Gate, The Gate Brace, EZ Brace, Nuvo Iron, Everbilt, and Tech Team Products and are available from Lowes, Home Depot, Menards, etc. The item that we chose is the Tech Team #734 Gate Brace.
Not only is this by far the strongest one available, it is also the best engineered, easiest to install, and easiest to adjust. The set consists of 3 flat steel bars that are drilled through at intervals. The lowest steel bar gets mounted to the lower latch side corner of the gate with one screw through the one hole at the end. The L shaped bracket gets mounted to the upper hinge side corner with one screw in the center. At this point the threaded end on the remaining bar is put through the large hole on the L shaped bracket and one of the hex nuts is screwed on 20 revolutions. Not the remaining steel bar, which is drilled through at multiple intervals, is placed over the lower and upper members so that it is centered and using the screws and nuts that are supplied with the set, it is fastened to each of the other bars. You now have a solid steel bar that extends from the lower corner to the upper corner. The next step tighten the one screw at the bottom part and the screw at the L shaped bracket, and using a crescent wrench, tighten the hex nut until the gate is slowly drawn into a perfectly square orientation and the diagonals are equal in length. At this point, screw in the additional screws to anchor the L shaped bracket and the end of the bar at the lower end of the gate.
Needless to say, while performing these procedures, should you use any power tools, it would be a good idea to use both ANSI and OSHA approved hearing and vision protection.