
A Tip to Make Hooking Up a John Deere Brush Hog to a New Holland Compact Tractor Easy
A Tip to Make Hooking Up a John Deere Brush Hog to a New Holland Compact Tractor Easy
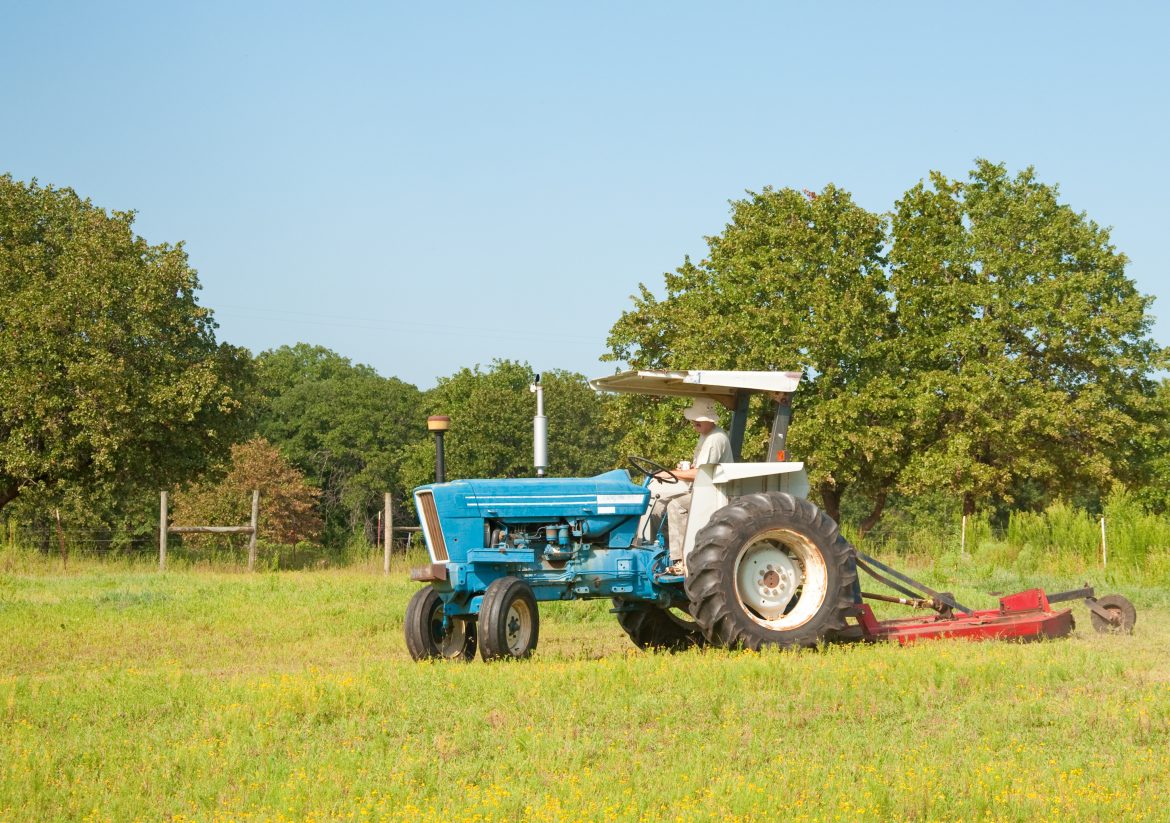
One of the toughest things about being a tractor owner is getting the tractor hooked up to the brush hog, and it’s a process that I’ve always struggled with as well. You always seem to be off just a little bit, especially if you’ve got lower link arms that are fixed that don’t extend out, it can be a real tough process. Well I recently learned something I should have known decades ago, that I want to share with you a little bit later on, that’s going to make this process a whole lot easier. It’s something I wish I had known growing up, wish Dad would have known. We never even thought about it. It works like a charm to make this process easier.
Before we get to that, the first thing to do before you even back the tractor up to the cutter is use WD 40 specialist multipurpose grease. I pull the PTO shaft out, and I apply some of the grease to the PTO shaft the metal part, and then before I slide it back together, there’s a plastic shield I put some around that too. You’ll want that shaft to slide in and out easily. If you don’t, you’re gonna be fighting it when you’re hooking up the tractor. Now on the tractor we’re going to use WD 40 in the easy reach can. I love this because it’s got an applicator that is adjustable, that will twist around, and some of these places are a little bit tight. We’re gonna apply some on the stabilizer arms, the part that you tighten up to keep the cutter from going back and forth around the tractor, and the other place it’s critical to put some WD 40 is on the adjustable three point arm. And usually that’s on the right side, if you’re sitting on the tractor seat, you want that to go up and down easy because when you get it all hooked up, you’re going to level the machine, and you want that to be real easy to twist, because you’re pulling the weight of the machine up when you try to adjust it and make it level.
Now we’re gonna back up to the cutter. I always like to back up with my lift arms in a narrow position. And I’ve used a strap to keep these parallel and close together, because I can always lift them up and spread them out. That way I don’t have to worry about trying to get around the pins. I keep my three point arms low because I can always lift them up. I can’t push them down. Once I get backed up you’ll notice that I’m off a little bit. My tractor’s not far enough back. Now in the old days what I would do is get back on the tractor and back up again, and use the tractor to try to get the cutter lined up. But, there’s a whole lot easier way of doing that.
This tool right here is an 18” mechanics pry bar. Any kind of a pry bar like this will get your cutter lined up really easy. And what we’re gonna do is put this pry bar under the cutter, and this is so easy. I’m surprised at how easy this is. We’re going to actually scoot the cutter forward with the pry bar using the advantages of the lever. You’ll see how easy it is to scoot the cutter just where you want it. It may take a couple of tries to get it there, but a lot of the weight of the cutters actually on the tail wheel, so this is an easier process than I ever thought it would be. There are several companies that make pry bar sets such as Mayhew, Tekton, Milwaukee, Apex, Sunex, Craftsman, Vaughn and Tech Team https://techteamproducts.com/. The Tech Team 5pc Pry Bar Set
tempered steel mechanics pry bars that range in length from 8” to 18”. In addition, it has a unique and useful tool which has a drift pin on one end and a round head on the other end.
Once we get the left side, if you’re sitting on the tractor seat and hooked up, we’re gonna move around to the right side. You don’t have to have this heavy pry bar. I’m taking a pipe that I found just laying around the shop. It’s about a 1” pipe, a little less than 5’ long, and that works fine as a lever to get this lined up. Now’s the time to attach the PTO, and because we squirted it with WD 40 ,it sides in and out easy. This tractor has a PTO shaft that spins when the tractor’s shut off, and I always do this with the tractor shut off. Now on some tractors, the one I own is one of them, you can’t spin a PTO shaft with it even with the tractor off. So if that’s the case, I have to start the tractor, pick up the cutters so the blades will spin, and then I can spin the PTO shaft on the cutter, and get it lined up with the tractor turned off. On a lot of tractors, you’ll get all greasy, but you can spin this PTO shaft on the tractor, and get it lined up. Then you pull the collar back on your PTO shaft. On some tractors you twist the collar, on some you pull the collar back, and on some tractors you push a rod from side to side to release a catch to slide onto the PTO shaft. A lot of people think you push that collar forward to release the ball bearings, to get on your PTO shaft. You almost always pull that caller back, and then you can slide it on, and slide it past the groove and the PTO shaft, and pull it back. You’ll hear those ball bearings snap in place, or again, on some tractors it’s a rod, and you’re good to go. Now the last thing we’re going to do is hook up our top link and we’re ready to go to the field. The Tech Team Pry Bar Set includes a drift pin that will help you align the holes and lever them into alignment. This is a great little tool. Now you’re all set.