Why Put An Island In the Kitchen?

Why Put An Island In the Kitchen?
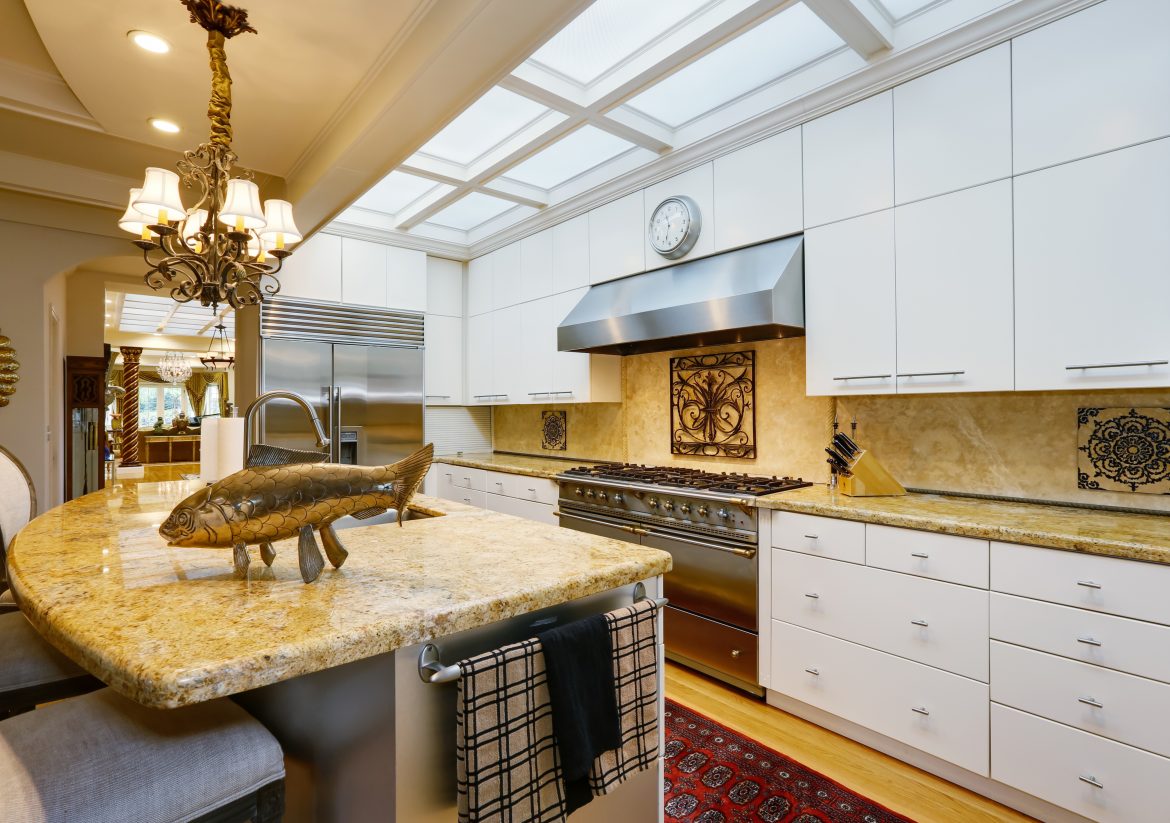
Islands add a tremendous amount of utility to the kitchen. Not only does it provide additional surface area which experience will tell you, is necessary in almost any kitchen environment. It also becomes a social gathering place for the family especially if the countertop is cantilevered enough to allow for seats or stools to be placed around the perimeter.
The island becomes an area where many family and social activities can take place. For example, while mom’s preparing dinner the fourth or fifth grader can sit at the counter and do their homework. If you’ve thought ahead and have located a television across from, and above the island you now have the added advantage of being able to prep food, watch tv, and accomplish other activities. In many situations the island becomes an effective substitute for the kitchen table. This is especially helpful in a smaller kitchen where a table and chairs and the space necessary to move the chairs in and out can become problematic. Many islands include a sink and built in stovetop. Typically these would be located at a height of about 30 inches which would be about 6 or 12 inches lower than the top of the island. One of the main considerations in planning an island is to include enough electrical outlets, and to make sure that they’re properly grounded and that they have enough capacity to handle all the appliances that you may elect to use. This may mean more than one circuit. If you’re installing a cook surface it’s also necessary to make allowances for a vent hood so that cooking odors, gases, smoke, etc., can be safely vented to the outside. If you’ve installed a sink, needless to say, you need both hot and cold supply plumbing and drain plumbing so you need to take this into account and make sure that the area beneath the floor is such that these can be accommodated.
Sometimes a peninsula stretching out from the existing countertop can be a better option. However, in either case you want to make sure that you have at least 48 inches between the perimeter of the island and the perimeter of any cabinets or appliances so that you have enough space to safely navigate around the kitchen. If you need wheelchair access, you should allow at least 60 inches of clearance. Above all, you want to make sure that the kitchen island is proportionate to the geometry, size, and arrangement of the kitchen. If your intention is to place stools or chairs around the perimeter of the island you need to keep a few basic measurements in mind. If the countertop is 30 inches high, which is the same height as a typical kitchen table, you want 18 inches above the knee when seated, if it is a 36” high counter you need 15 inches above the knee, and if it’s a 42 inch high countertop you will need 12 inches. As far as elbow room is concerned you should allow at least 24 inches per seat. Not factoring these basic requirements into your plan when you design your island can result in uncomfortable and inconvenient situations after the island is built.
Though islands are generally rectangular, that’s not a carved in stone requirement. It could actually be any shape from octagonal to round but rectangular seems to be the one that most easily fits the profiles and tastes of American kitchens. Another consideration is lighting. You want to make sure that the work area is well lit and there are a variety of ways you can accomplish this from high hats to lighting fixtures that extend down and over the top of the island. Either way you want to make sure that you have sufficient light so you can clearly see the tasks you expect to perform. One of the most important considerations for the kitchen island is the top surface. The least expensive option is mica or laminate which is attached to a plywood surface with adhesive. This is also the least durable option and is the least compatible with hot pots and pans as the heat can cause the adhesive to weaken and cause bubbles. The more contemporary solutions for countertops are quartz, marble, granite, and concrete. Each one of these mediums has its own characteristics and advantages. Granite, marble, or concrete are all porous and require routine maintenance for sealing for food safety and also aesthetics. Other surfaces such as quartz, which is solid, require much less attention. All of these surfaces share one common characteristic and that is that they are heavy and require special support, especially under counter levered areas to properly support the weight of granite, marble, or quartz. Cantilevered area requires the placement of a heavy steel support bracket a minimum of every 24 inches. There are numerous manufacturers of these type of brackets but the one we like best is made by a company called Tech Team https://techteamproducts.com/. As opposed to other brackets on the market that are only 6 inches by 8 inches, Tech Teams bracket is a full 8 inches by 8 inches, has an attractive black powder coat finish, and is a full half inch thick. These brackets are heavy and substantial and do an absolutely excellent job. The Tech Team item number. For this bracket is 732 https://www.amazon.com/Countertop-Brackets-Countertops-Heavy-Duty-Construction/dp/B07G1KQPPQ/ref=sr_1_3?s=home-garden&ie=UTF8&qid=1547587979&sr=8-3&keywords=tech+team+countertop+brackets+for+granite and we highly recommend this particular fixture.
