
How to install Pot Lights in Ceiling- Recessed Lighting, Can Lights
How to install Pot Lights in Ceiling- Recessed Lighting, Can Lights
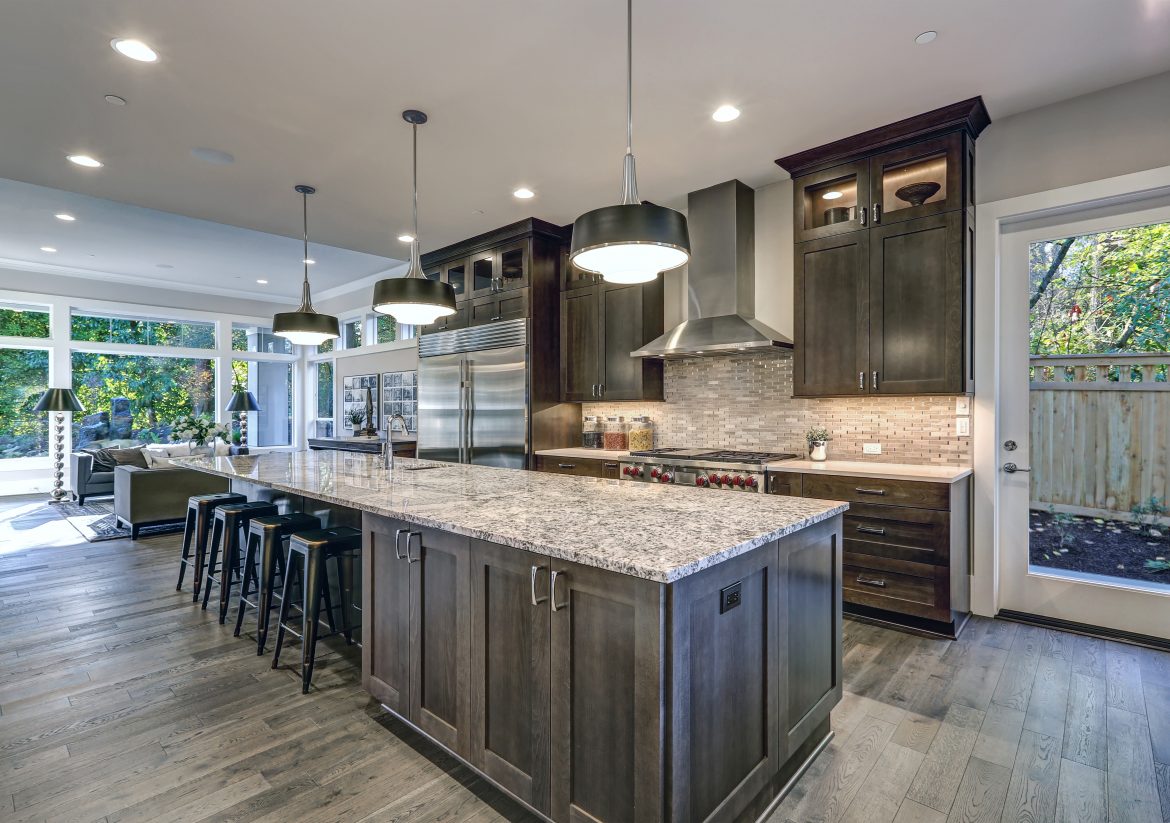
I’m going to show you how to install pot lights in different rooms in your house.
It is a good idea to draw your project on paper just to get a rough idea of what you’re going to do. Case in point, this room is 20 x 12, and the 15 lights will be centered. I want them 4ft. apart going long ways, and 3ft. apart going across. The distance away from the wall will be approximately 2ft. The best thing to do is make your layout on graph paper.
Now the most important part is to locate your ceiling beams. If you have an existing wide light cover in the ceiling you can open it up and slide a flexible fish rod until you hit the beam. Now you can see how far the beam is. Also, this is going to be our source of power for our pot lights. We’re going to use a stud detector to locate the beams. You can actually slide it across the ceiling. What you’re going to do is put in a red push pin once you find it. If you have a flat ceiling you could use painters tape instead. We’re going to measure the lights 2ft. away from the wall and 4ft. apart. With a stud finder we can detect where the beams are behind the wall, and also if there is metal. It even detects when there’s electricity. If your basement isn’t finished or if you have a furnace room, it’s a good idea to measure apart the distance between the beams. This is a good idea to do as a double check for peace of mind.
Our hole cutter is adjustable. The lights we are installing are 6”. There is a plastic piece that collects the drywall dust as it falls down. There is a drill bit to start cutting and line it up. Once you get your pilot hole started, you just push up gently until you feel it going through, then slowly remove it and you will have your hole. This type of hole cutter is like a spanner or compass. However, a much better choice is a regular hole saw. There are several brands such as Stanley, Irwin, Klein, Tekton, and Tech Team https://techteamproducts.com/ .We liked the Tech Team 756 6” Hole Saw
https://www.amazon.com/Tech-Team-Carbon-Drywall-Fixtures/dp/B07NGNH6QB/ref=s
because it was high speed steel and had an aggressive tooth pattern, you can really lay into it, it is perfect for this job. Once you have all your holes cut out you will need to drill through the beams to pass your wires through. We just need to drill through one side and then feed the wires across. To run the cable through the holes, we can simply run a cable attached to the fish rod and feed it through. Once we have our cable running down the one side it is easy to pass it along this way as there are no beams in our way.
Now cut the wires in half and strip the wires with strippers. What we’re gonna do is grab on it, and pull down about 4” and then once you have that, you are then going to pull the covering back and peel it like a banana pulling the wires apart. Now strip about ½”. This is a 14 gauge wire, so use a handy stripper tool and go to the 14, then you line it up and you’re just going to pull. And that’s going to expose and strip your wire. There you have it.
The lights we bought are 6” pot lights. You can buy them at Home Depot or Lowe’s. A pack of six is just under $50.00. They come with halogen lights, which we will be throwing out, because we will use low power LED lights. They don’t get hot and they save you energy while lasting up to 22 years.
Now remove the cable box. This is where all of your connectors are held and all the cables are secured. We’re going to ensure that these cables are protected so I’m putting them through the protective box. Now we’re going to start off with the blacks (hot leads) and we’re going to just make sure that they are joined together and secure them. We’re going to do the same for the whites (neutral leads), and then the same for the green grounds. And there you have it. Put the metal box on with the screws and secure it. Now to be able to put the LED into the ceiling I’m going to clip the wings in. It may feel like it’s going to snap but don’t worry it’s not. Now we’re going to screw in our LED lights that we just purchased locally, which you can get from Home Depot or Lowe’s. Our final step will, of course, be turning on the light.
If you are installing pop lights and there is an attic above then you will need to install insulation covers in the attic, which keep the insulation off of the lights and provide a vapor seal. They are fireproof rated, and are also for non-insulated rated lights. This is important because you don’t want the heat to escape in the wintertime into the attic leading to moisture build up. You place the cover directly over the fixture and cut around the wires. You can pick up insulation foam spray and covers at Home Depot. Use spray foam around the edge of the cover to give it a good seal. All our covers have lots of foam to keep out the moisture and the insulation won’t get in contact with the light fixture. Once the foam becomes hard. You can spread the insulation around the covers to even it out.
It’s also a good idea to install a dimmer switch so you can actually control how much lighting you get. These lights can also be used for home automation.