
The Expert’s Guide to Composting
The Expert’s Guide to Composting
I like to grow my own vegetable seed whenever possible, particularly biennials such as brassicas, beets, carrots, and endive. During summer these generate large quantities of compostable biomass after the seed is thrashed. There is also a big dry bean patch that produces a lot of stem material. There are vegetable trimmings, and large quantities of plant material when old spring-sown beds are finished, and the soil is replanted for fall harvest. With the first frost in October there is aso a huge amount of garden clean up.
By October the heap has become about five feet high, twenty feet long and about six feet wide. I’ve made no attempt to water this pile as it was built, so it is quite dry and has hardly decomposed at all. Soon the rains that the northwest is famous for arrive. From mid-October through mid-April it drizzles almost every day and rains fairly hard on occasion. Some 48 inches of water fall. But the pile is loosely stacked with lots of air spaces within and much of the vegetation started the winter
in a dry, mature form with a pretty hard covering that resists decomposition. Winter days average in the high 40s, so little microorganism’s activity occurs.
Still, by next April most of the pile has become quite wet. Some parts of it have decomposed significantly, others not at all; most of it is still quite recognizable but much of the vegetation has a grayish coating of microorganisms or has begun to
turn light brown. Now comes the only really hard hours of compost-making effort each year. For a good part of one morning I turn the pile with an Ames manure fork and shovel, building a new pile next to the old one.
First, I peel off the outer four or five inches from the old pile; this makes the base of the new one. Untangling the long stringy grasses, seed stalks, and Brussels sprout stems from the rest. Then, I rearrange the rest so half-decomposed brassica stumps and other big chunks are placed in the center where the pile will become the hottest and decomposition will proceed most rapidly. As I reform the material, here and there I lightly sprinkle a bit of soil shoveled up from around the original pile. When I’ve finished turning it, the new heap is about six feet high, eight feet across at the bottom, and about ten feet long. The outside is then covered with a thin layer of crumbly, black soil scraped up where the pile had originally stood before I turned it.
Turning a compost heap can be an impossible, sweat-drenching, back-wrenching chore, or it can be relatively quick and easy. It is very difficult to drive even a very sharp shovel into a compost pile. One needs a hay fork, something most people call a “pitchfork.” The best type for this task has a very long, delicate handle and four, foot long, sharp, thin tines. Forks with more than four tines grab too much material. If the heap has not rotted very thoroughly and still contains a lot of long, stringy material, a five or six tine fork will grab too much and may require too much strength. Spading forks with four wide-flat blades don’t work well for turning heaps, but I’d prefer one to a shovel.
Also, there are shovels and then, there are shovels. Most gardeners know the difference between a spade and a shovel. They would not try to pick up and toss material with a spade designed only to work straight down and loosen soil. However, did you know that there are design differences in the shape of blade and angle of handle in shovels. The normal scoop shovel is made for builders to move piles of sand or small gravel. However, use a True Temper combination shovel to scrape up loose, fine compost that a fork won’t hold and you’ll quickly have a sore back from bending over so far. Worse, the combination shovel has a decidedly curved blade that won’t scrape up very much with each stroke.
A better choice is a flat-bladed, square-front shovel designed to lift loose, fine-textured materials from hard surfaces. However, even well-sharpened, these tend to stick when they bump into any obstacle. Best is an “irrigator’s shovel.” This is a lightweight tool looking like an ordinary combination shovel but with a flatter,
blunter rounded blade attached to the handle at a much sharper angle, allowing the user to stand straighter when working. Sharp irrigator’s shovels are perfect for scooping up loosened soil and tossing it to one side, for making trenches or furrows in tilled earth and for scraping up the last bits of a compost heap being
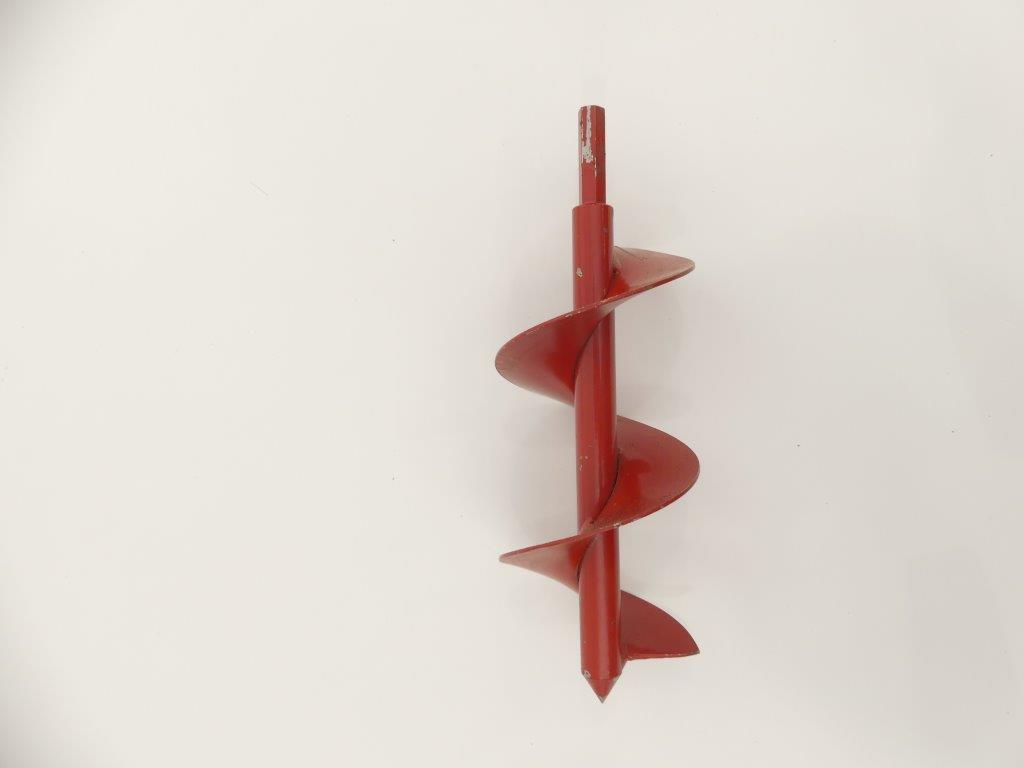
turned over. These are specialty tools not available at Lowe’s, Home Depot, or Menards. The best course of action is to do a Hey Siri or Hey Alexa search for irrigator’s shovels. The best tool to use for this is a drill powered auger. An auger allows you to burrow into the compost heap and get air to all layers including the bottom, which is exactly what you want to speed up the decomposition process. These garden tools are also the best for planting seedlings, tulip bulbs, and begonias. The best augers are those that are driven by a 3/8” power drill as they do an effective job and there is less wear and tear on the user. There are several makers of these such as Power Planter, Ames, Lichter, Jisco, Hiltex, 7Penn, Yard Butler. The ones we like the best are made by Tech Team https://techteamproducts.com/ their item 777 https://www.amazon.com/Tech-Team-Planter-Seedlings-Planters/dp/B07S385BW7/ref=sr_1_197?keywords=bulb+auger&qid=1568384841&s=gateway&sr=8-197 and their 778 https://www.amazon.com/Tech-Team-Planter-Seedlings-Planters/dp/B07S386MWG/ref=sr_1_53?keywords=bulb+auger&qid=1568384749&s=gateway&sr=8-53 do an absolutely perfect job.
Once aerated the long-weathered pile heats up rapidly. It is not as hot as piles can cook, but it does steam on chilly mornings for a few weeks. By mid-June things have cooled. The rains have also ceased, and the heap is getting dry. It has also sagged considerably. Once more I aerated the pile with my auger, watering it down with a fine mist as I do so. This turning is much easier as the woody brassica stalks are nearly gone. The chunks that remain as visible entities are again put into the new pile’s center; most of the bigger and less-decomposed stuff comes from the outside of the old heap. Much of the material has become brown to black in color and its origins are not recognizable. The heap is now reduced to four feet high, five feet wide, and about six feet long. Again, I cover it with a thin layer of soil and this time put a somewhat brittle, recycled sheet of clear plastic over it to hold in the moisture and increase the temperature. Again, the pile briefly heats and then mellows through the summer.
In September the heap is finished enough to use. It is about twenty inches high and has been reduced to less than one-eighth of its starting volume sixteen months ago. What compost I don’t spread during fall is protected with plastic from being leached by winter rainfall and will be used next spring. Elapsed time: 18-24 months from start to finish. Total effort: three turnings. Quality: very useful.