
Hacks for Changing the Battery on a Cub Cadet RZT Zero-Turn Riding Mower
Hacks for Changing the Battery on a Cub Cadet RZT Zero-Turn Riding Mower
If your rider is equipped with a maintenance meter and the words low bat appear on your meter your battery or charging system may need service. If you have charged the battery and the light is still on or the battery fails to hold a charge, it’s probably time to replace your battery. Always refer to your operator’s manual for more information about your battery and electrical system. Locate your unit’s model number on the information plate under the seat. Your model number is needed to select the correct battery part number. Depending on your model number, the instructions may vary slightly. At this point you may want to go to YouTube or do a Hey Google, Hey Alexa, or Hey Siri search to get some other ideas for doing this project. If you order a battery on Cub Cadet com, you will receive a battery that is shipped without acid. We suggest that you go to your local cub cadet dealer to purchase a cub kit, and genuine parts battery. It will be charged and ready to be installed in your rider. The items that you will need are your rider operators manual, wrenches that fit the battery cables, the battery hold down, and a new battery. To prepare to change the battery park the rider on a level surface and engage the parking brake, remove the key from the ignition, locate and disconnect the spark plug wire from each cylinder on the engine as a safety precaution. Tip the seat forward and locate the battery under the seat in front of the engine. Use caution when working around the battery. Avoid making contact between the positive terminal and any metal part of the rider with your wrench. Using two wrenches, remove the nut securing the black negative battery cable. Place the nut and any lock washer back on to the bolt and move the cable out of the way of the battery. Always remove the negative terminal first.
Remove the protective red rubber cover from the positive battery terminal and slide it along the cable away from the terminal using two wrenches, remove the nut securing the battery cable. Place the nut and any lock washer back under the bolt and move the cable out of the way of the battery. Remove the hex washer screws securing the battery hold down bracket to the frame. Flip the hold down bracket up and out of the way of the battery. Note the orientation of the positive and negative terminals carefully, lift and remove the battery from the rider. The new battery needs to be oriented the same way as the old one when it is installed. Before installing the new battery make sure the battery will not pinch any cables. Place the battery into the rider and slide it into position under the seat frame, install the battery hold down that was removed earlier.
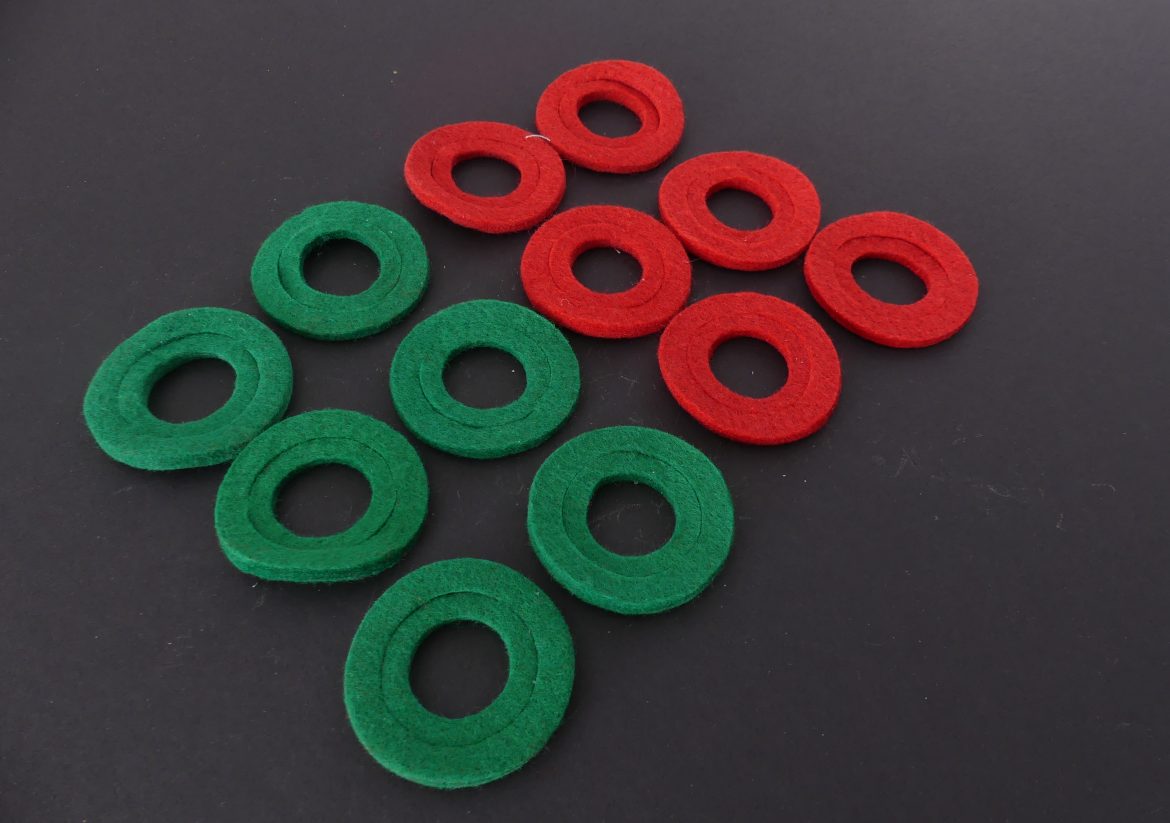
At this point you may want to place anti corrosion washers over the top post terminals before you attach the cables. For this it is a good idea to place anti corrosion pads or washers around each terminal. These are made by several companies such as Shumacher, Pangda, UTS Auto, and Tech Team https://www.amazon.com/Anti-Corrosion-Chemically-Automobile-Tech-Team/dp/B08156L7N3/ref=sr_1_23?crid=2NPB30UXZUXFS&keywords=anti+corrosion+washers&qid=1580221028&sprefix=anti+corrosion%2Caps%2C145&sr=8-23. These will prevent the blue green crud that can cause conductivity problems and hard starting.
Attach the positive cable to the positive terminal on the battery using the bolt and nut removed earlier, slip on the red cover over the terminal to protect it, attach the negative cable to the negative terminal and secure using two wrenches, check that all cables are properly routed, reattach the spark plug wires. Start the rider to see that it is operating properly. At the end of the mowing season, remove the battery and store in a cool, dry area. After a long period of storage, such as over the winter, we suggest charging the battery using a 12 volt battery charger. Charge at a maximum rate of ten amps. Refer to the Charger manual for the proper instructions.